Brioche Burger Buns

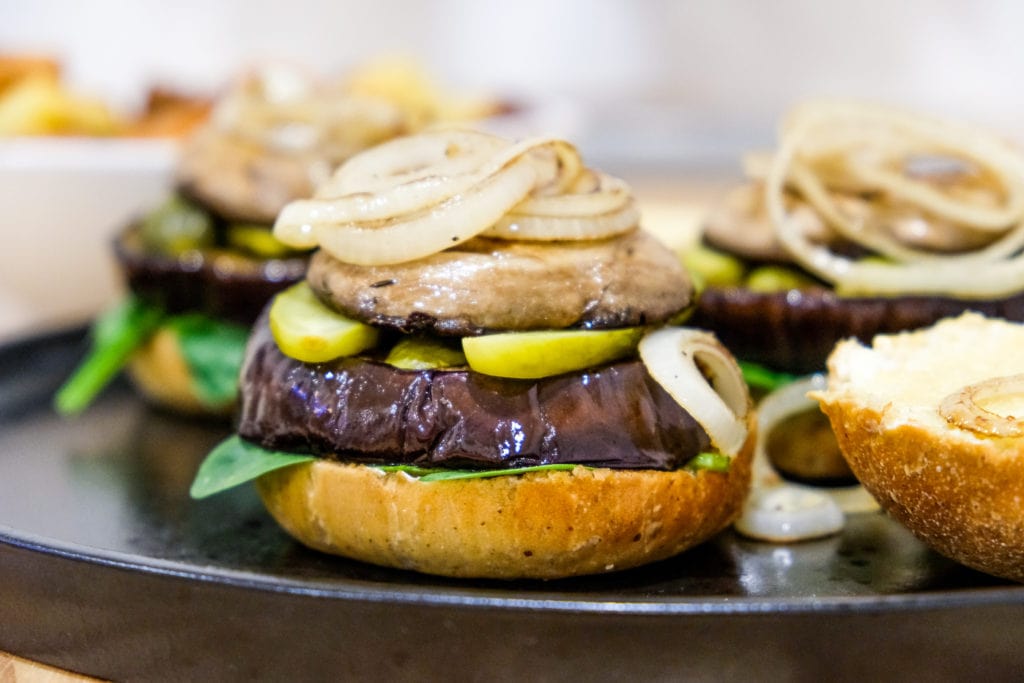
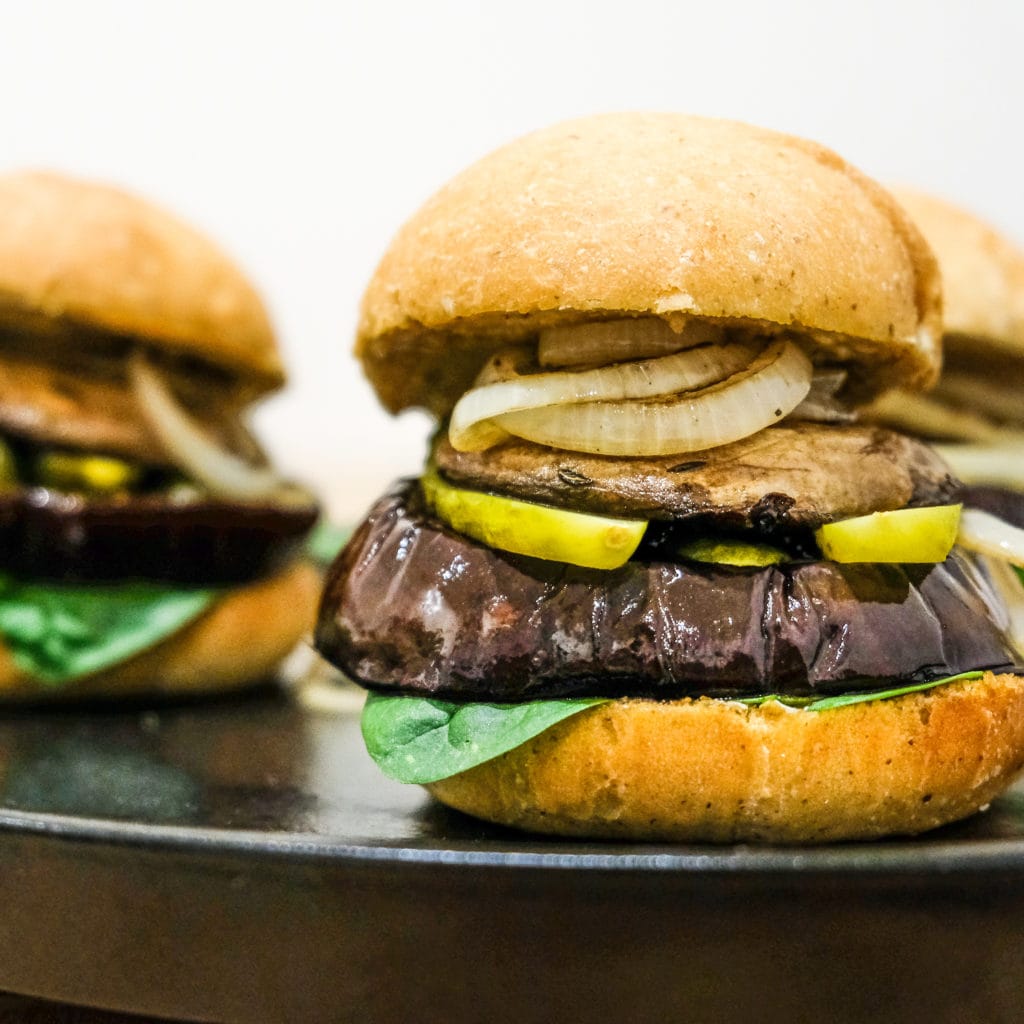
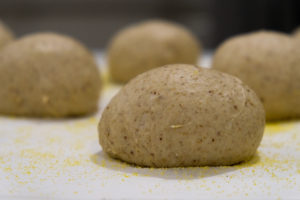
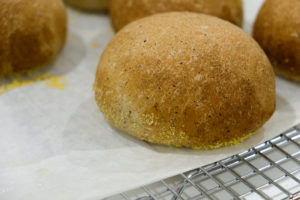
When we decided to try a vegan diet it was non-negotiable that burgers would still be a big part of my life. After plenty of trial and error I think I’m finally happy with the results I’m getting and am ready to share my burger bun recipe.

I’m sure you’ll agree that any decent burger starts with a bun that not only has the strength and structure to hold up to whatever fillings you throw at it, it also needs to have a lightness and almost fluffy/cottonishness to the texture that gives a wonderful open canvas for you to work with. This is not a salad – a transparent canvas won’t do, so the flavour of your burger buns is also critical before you can even begin thinking about balancing the fillings.

Of course, wonderful things can be, and have been, done with ciabatta and various Turkish-style breads. For now we’ll focus on a versatile classic – the one and only brioche burger.

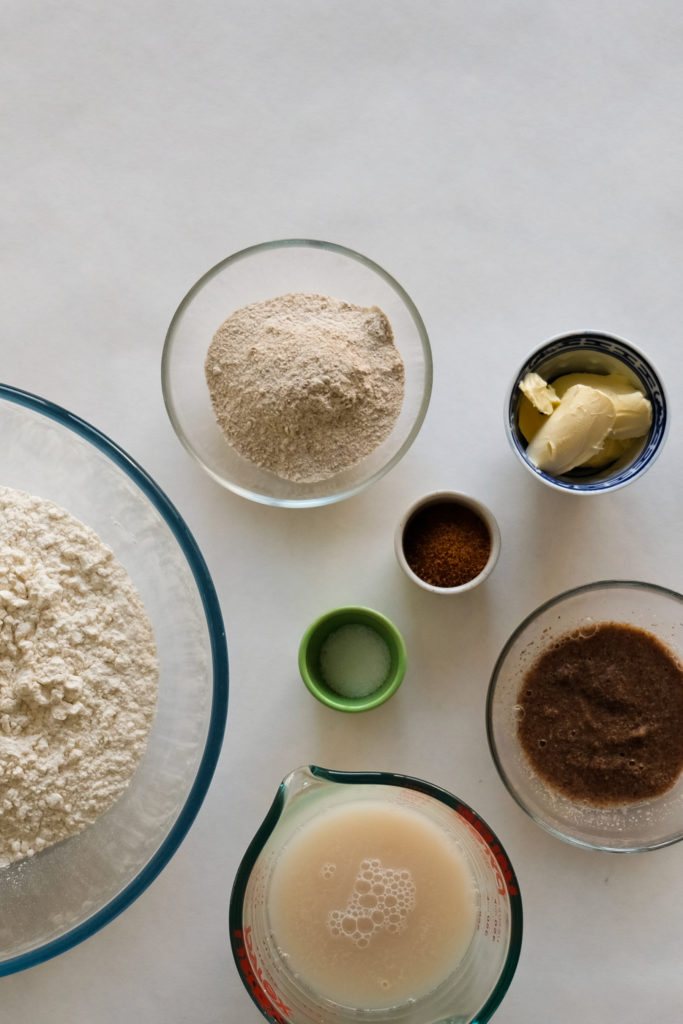
The changes that I’ve made to “veganise” my old recipe, have actually improved its texture as well as giving a cleaner and more savoury flavour. The oiliness and heaviness that often plagues brioche burgers will be nothing but a distant memory. If you’re not hungry at this point or at least a little moved by my poetic writing then clearly you do not share my passion for good burgers, you should stop reading. For those of you who are drooling all over your keyboard and shaking with excitement, continue reading for the recipe.


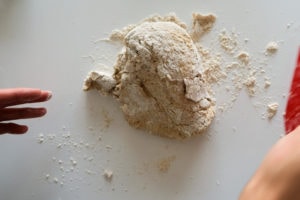
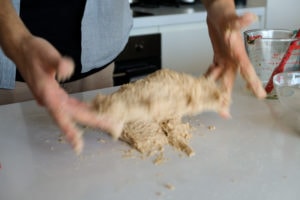
Even if you’re new to baking bread, please dive in and give it a go! The best way to learn baking involves screwing up a few times. If you have any questions then please post them in the comments below; I’ll help as best as I can.

Cheers, Jeremy

Brioche Burger Buns

Jeremy Cooper
Easy, vegan, versatile burger buns.
5 from 1 vote

(Click on the stars to vote!)

Prep Time 2 hours 30 minutes
Cook Time 20 minutes
Total Time 2 hours 50 minutes
Course Main Course
Servings 8 buns

Ingredients
  

  • 360 g flour I use white bread flour for this recipe, there’s a great baker’s flour that I’d recommend at ‘The Source Bulk Foods”, but this recipe works with quality all-purpose flour or you could substitute wholemeal flour (untested). I would not recommend trying this with any kind of gluten-free flour. I strongly recommend spending some more money on quality organic flours – the difference is very noticeable in almost any bread recipe – you won’t regret it.
  • 40 g rye flour Again, find a good organic flour to use here. You could substitute buckwheat or another flour that you like – the rye flour is purely added for flavour. If you don’t have it on hand you can leave it out, what’s important is that you have a total of 400g flour for this recipe- the exact blend is less critical.
  • 260 g water Start with just 240g water if you’re not confident handling a wet dough. The water should be warm to the touch but not hot; if it is too hot you will kill the yeast.
  • 8 g salt
  • 1 flax egg (10g flax meal, 30g water)
  • 7 g dry yeast sachet* (or 14g fresh yeast) *I will update this post with a sourdough recipe eventually, for now I’ve been working too much and so my sourdough starter died a very slow and lonely death several weeks ago.
  • 20 g coconut sugar (or raw cane sugar)
  • 30 g nuttelex/vegan butter (I like the coconut one as it does not use palm oil) for a heavier flavour but firmer texture you can substitute 20-30g of olive oil for a lighter texture and flavour you can use grapeseed oil

Instructions
 

  • In a small bowl, mix the flax-meal with water to make your flax egg. Leave aside for 5 minutes to set while you prepare the yeast.
  • In another bowl add the tepid water, dry yeast, and sugar. Stir quickly to mix and then set aside for a few minutes while the yeast wakes up.
  • Stir the flours and salt together in a large mixing bowl.
  • Make a well in the mixing bowl and add the nuttelex and flax egg before pouring the water and yeast into the middle of the well.
  • Stir vigorously and once all has combined, tip onto a clean surface. Knead the dough for ten minutes until it is smooth and elastic. The gluten should be moderately well-developed. (If the dough seems very wet, then leaving the dough to rest for 5-10 minutes before kneading can make it easier to handle)
  • Shape the dough into a ball and rest under the up-turned mixing bowl or under a damp tea-towel for approximately one hour or until roughly doubled in size.
  • Once the dough has doubled in size, divide into 8 even pieces (should be about 90g each if you want to be precise) deflate and roll between your hand and the bench to create tight balls.
  • Place the buns evenly on a lined baking tray. I like to scatter the surface with cornmeal or semolina first. Once all of the buns have been shaped, brush them lightly (okay, not lightly, I like to drown them) with olive oil before covering again with cling-film. Alternately you can cover them with a clean damp tea-towel and brush them with olive oil right before putting them in the oven.
  • Heat your oven to 220°C fan-bake. If you don’t have a spray bottle, put a pie-dish in the bottom of the oven.
  • Leave the shaped buns to proof for 45 minutes to 1 hour (they should look puffy and have almost doubled again. They’re ready if you gently poke the side of one with your finger and it takes a few moments to slowly spring back. If it doesn’t come back at all you’ve left them way too long (too long would be like 1.5-2hrs) and you’re a little screwed. Sorry. This is called over-proofing - don’t do it again. Try baking them anyway but they may become dense if they were left too long)
  • Once they’ve been proofing for about an hour they’ll be ready for the oven. If you have a spray bottle then use that to get some steam happening in the oven, otherwise pour about 100ml of water into the pie dish. Get those beauties into the middle of the oven and watch them closely (I like to do this cross-legged on the floor) for 15-20 minutes until they’re looking golden and puffy and just heavenly. Get those bad-boys out of the oven then let them cool slightly before slicing, frying, and packing them full of greasy-goodness (burger patty recipes coming soon). If all else fails, mushroom and aubergine steaks are a great way to load ‘em up.
Tried this recipe?Share your creation with us on Instagram @nothangryanymore


Categories

Join the newsletter & never miss out on new recipes

Do you know someone who would enjoy this recipe?

Join the newsletter & never miss out on new recipes

Do you know someone who would enjoy this recipe?

Leave a Reply

Your email address will not be published.

Recipe Rating


Press ‘Enter’ to search or ‘Esc’ to cancel

pasta al limone close up

Subscribe to the weekly newsletter & get a free eBook with 7 easy weeknight dinners

We respect your email address in accordance with our privacy policy.